The Importance of Proper Tree Pruning in Omaha
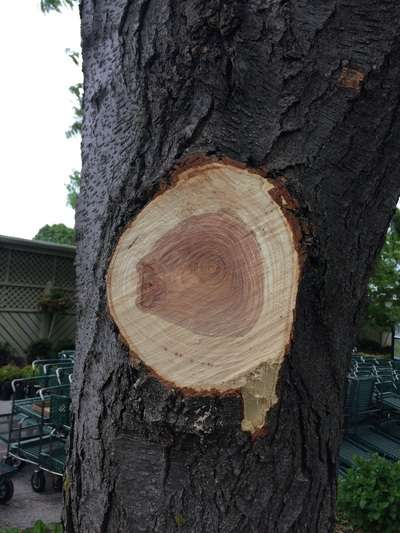
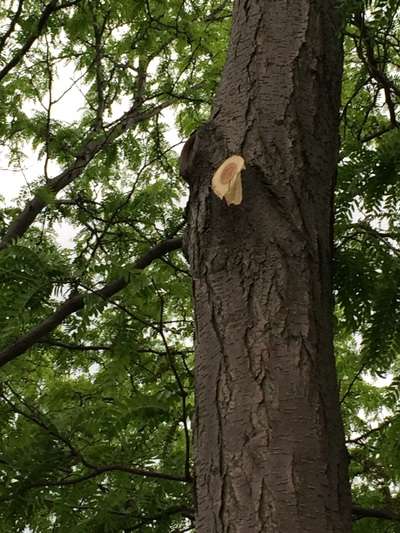
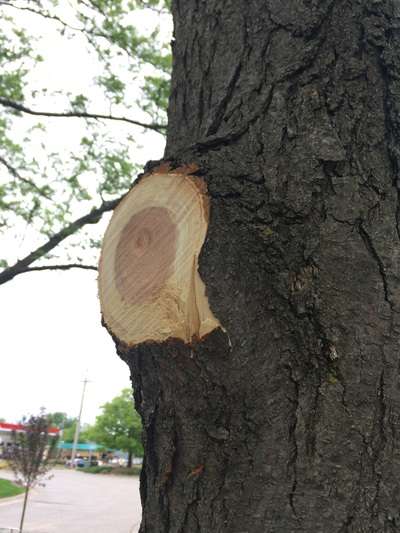
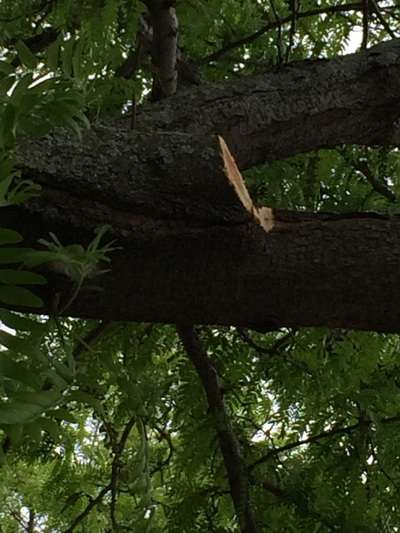
As professional tree service providers, we spend a great deal of time observing trees—both on and off the job. Recently, we encountered a striking example of poor pruning practices in the parking lot of a major nursery here in Omaha. Unfortunately, this kind of improper tree pruning is more common than many property owners realize.
We cannot stress enough how critical quality tree pruning is to the long-term health, structure, and safety of trees. What may appear to be small mistakes can lead to significant problems over time, including decay, structural failure, and increased stress on the tree
Considering DIY Tree Pruning?
Homeowners often attempt pruning themselves. While minor pruning can be appropriate, it is essential to proceed carefully.
If you plan to prune your own trees, keep these best practices in mind:
- Educate yourself before making any cuts
- Take your time—rushed pruning leads to mistakes
- Use proper, sharp pruning tools
- Ask for professional help when the work exceeds your comfort or skill level
When in doubt, consulting a certified arborist in Omaha can prevent costly and irreversible damage.
How NOT to Prune Live Branches
Improper pruning cuts place unnecessary stress on trees and interfere with their natural defense systems. Common pruning mistakes include:
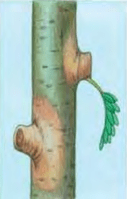
- Flush cuts
- Torn bark
- Nicked or damaged adjacent branches
These errors compromise the tree’s ability to protect itself. Remember:
Trees do not heal—trees seal.
When pruning cuts are made incorrectly, the tree struggles to compartmentalize the wound, increasing the risk of decay and disease.


How to Properly Prune Live Tree Branches
Identify the Correct Cut Location
To determine where to make a proper pruning cut:
- Locate the branch collar, which forms at the base of the branch on the underside (Fig. 6A).
- Identify the branch bark ridge, typically found on the upper surface, running parallel to the branch angle
A correct pruning cut avoids damaging both of these critical structures.
Make the Proper Cut (Fig. 6B)
- Begin the cut just outside the branch bark ridge
- Angle the cut downward and away from the trunk
- Avoid cutting into the branch collar
Cuts should be made as close to the trunk as possible without injuring stem tissue. Leaving long stubs delays wound sealing, while flush cuts interfere with the tree’s natural compartmentalization process.
Use the Correct Tools and Techniques
- Hand pruners must be sharp enough to make clean cuts without tearing
- Larger branches that require a saw should be supported during cutting
- For heavy branches, use the three-step pruning method to prevent bark tearing
The Three-Step Pruning Method (Fig. 6C)
- Make a shallow cut on the underside of the branch, just outside the branch collar
- Make a second cut farther out, fully removing the branch and leaving a short stub
- Remove the stub with a final cut just outside the branch bark ridge and branch collar
This method protects the trunk and ensures proper wound sealing.
Check Your Tree Pruning Work
Proper pruning results can be evaluated after one growing season.
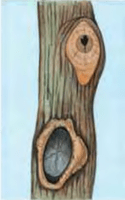
- Correct cuts form a uniform, concentric ring of woundwood (Fig. 6B)
- Flush cuts produce uneven woundwood growth (Fig. 7D)
- Stub cuts result in dead branch tissue and delayed closure (Fig. 7E)
Consistent, even woundwood formation is a sign of proper pruning technique and a healthy tree response.


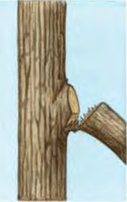
Cuts That HARM
Resources
Flush Cuts: https://arboraesthetics.com/flush-cuts-improper-tree-trimming-techniques/
Purdue Extension Tree Pruning Essentials Brochure: https://extension.purdue.edu/extmedia/fnr/fnr-506-w.pdf
